Vital Medical Supplies


Step-by-Step Instructions to Register a Online Guest
Account for Vital Medical Supplies
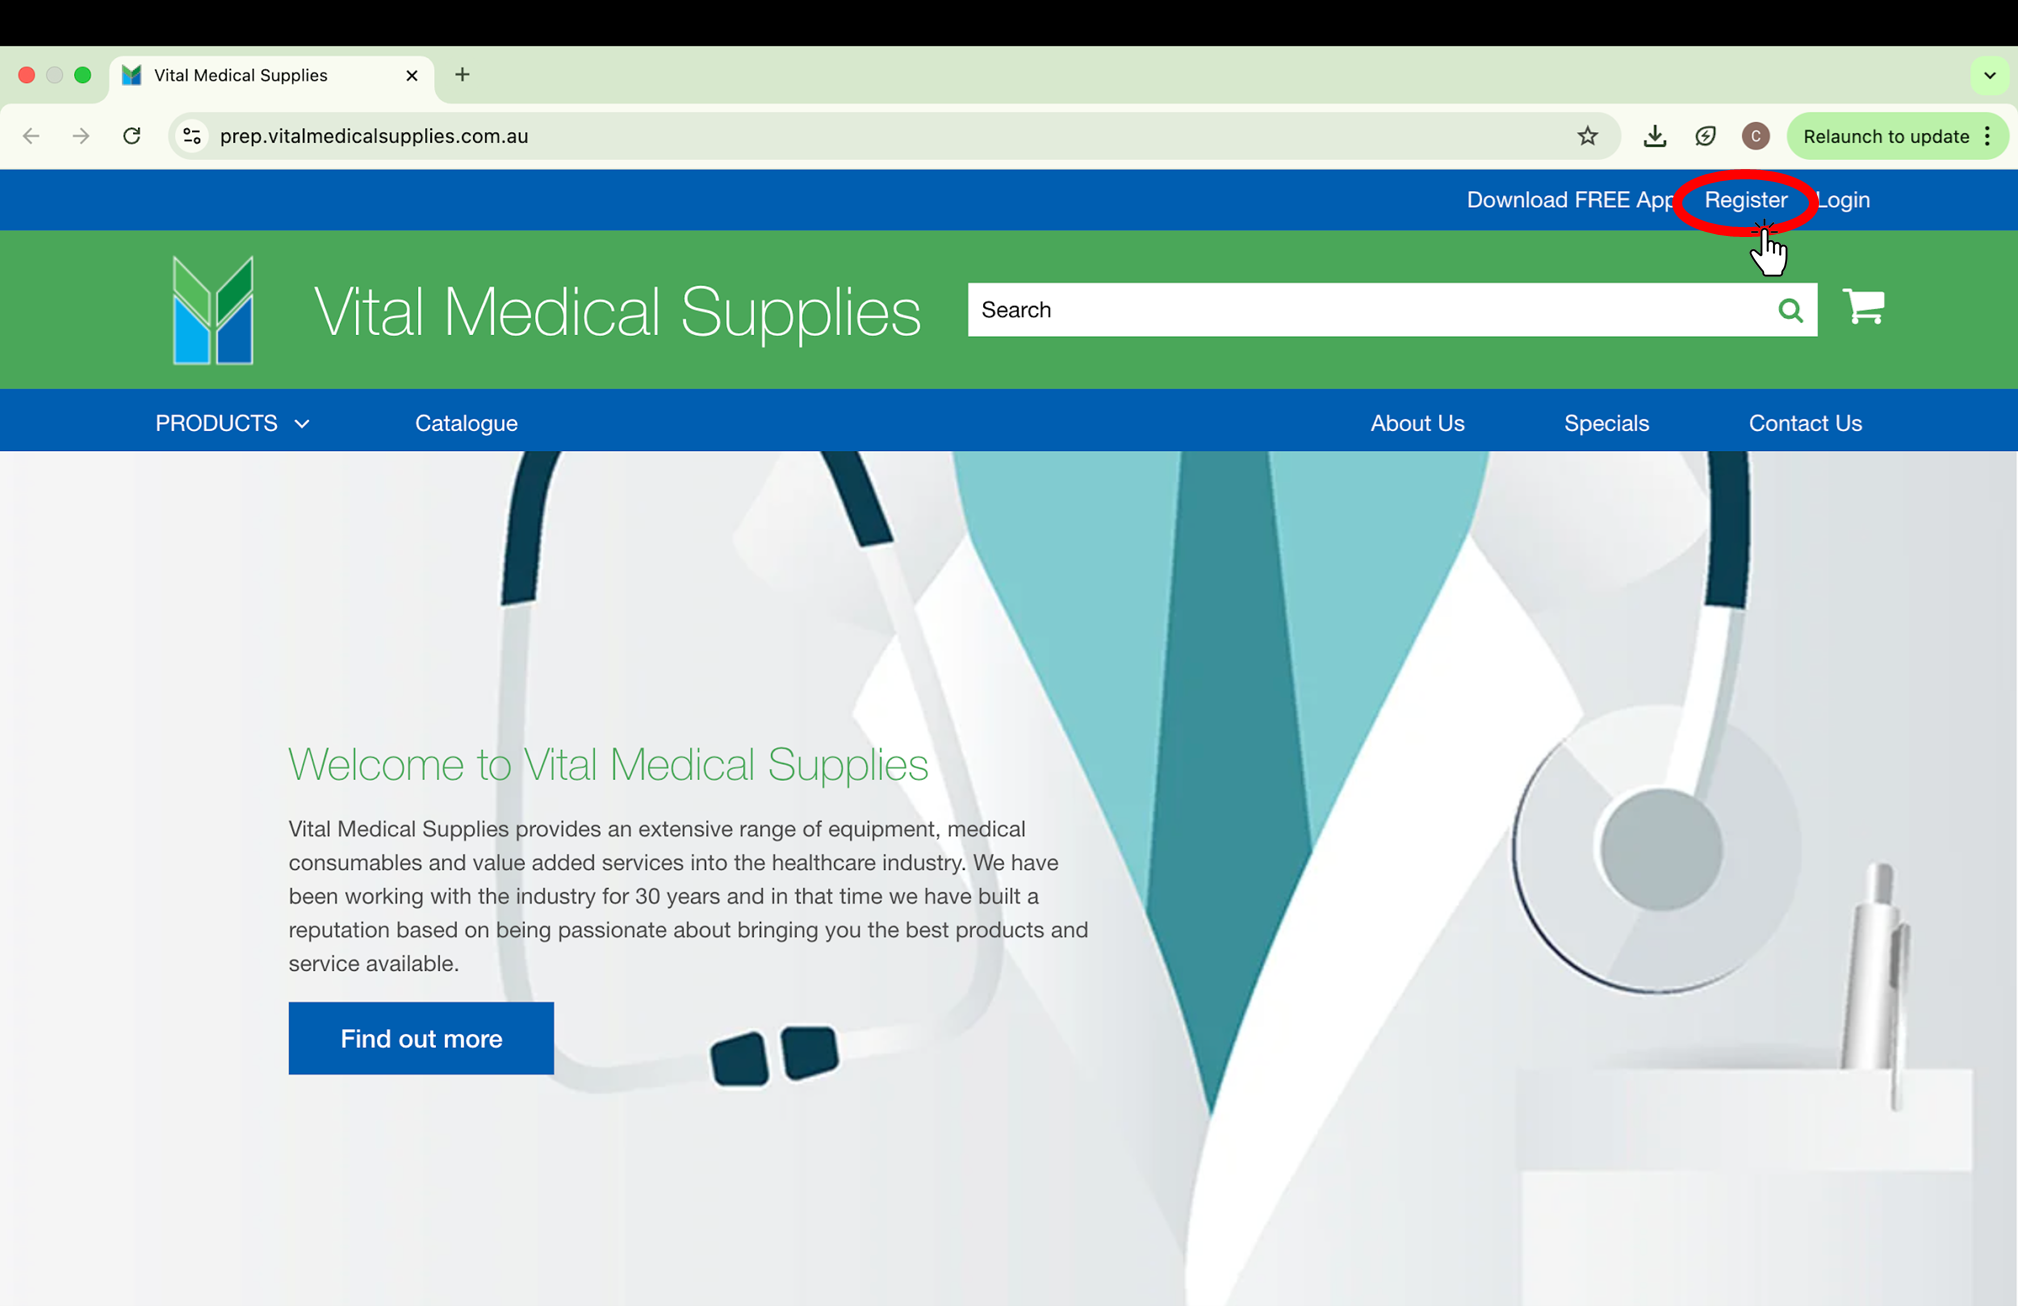
Step 1: Visit the Website Homepage
Go to the homepage by entering the following URL in your browser:
https://prep.vitalmedicalsupplies.com.au/
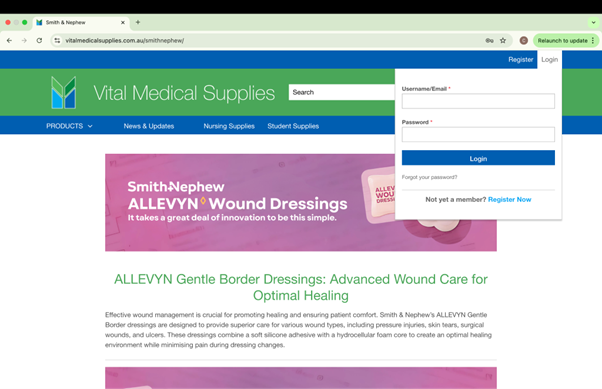
Step 2: Click on "Register"
Locate and click the "Register" button in the upper right corner of the homepage.
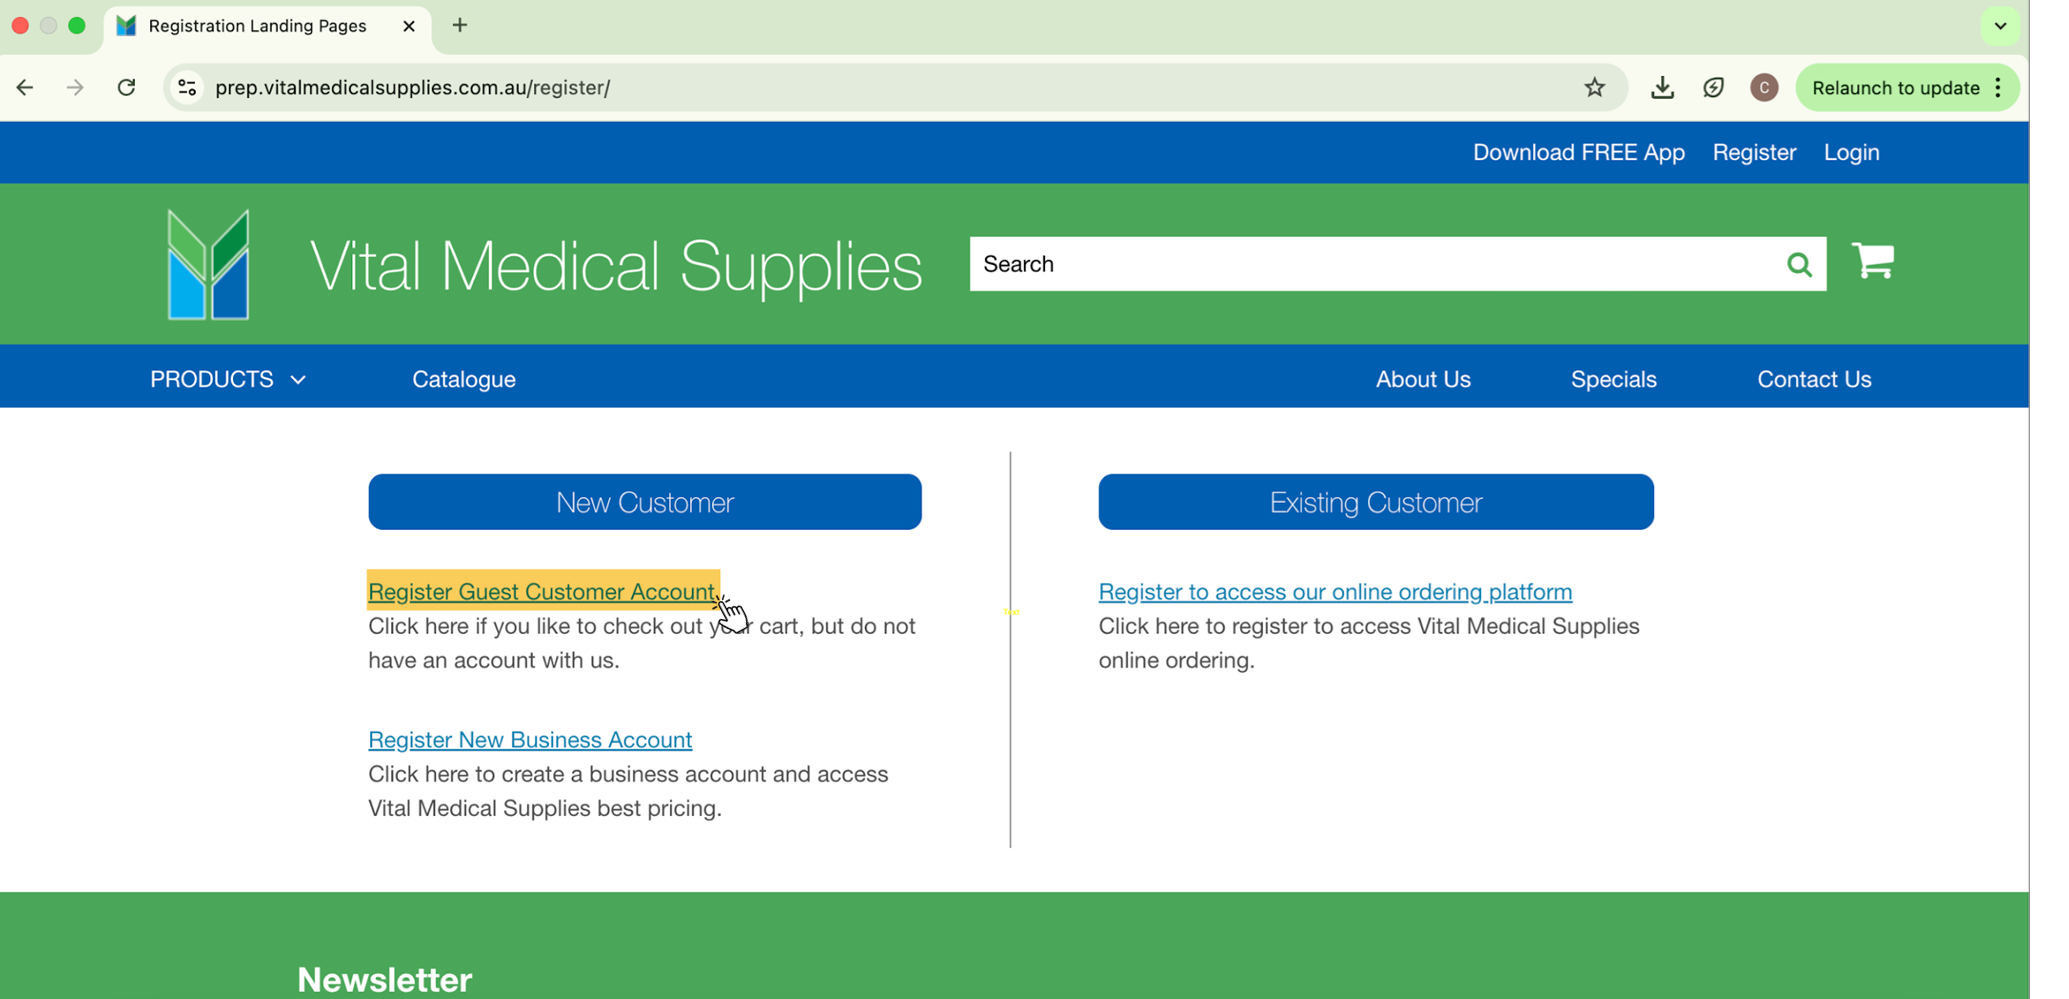
Step 3: Select "Register Guest Customer Account"
On the new page, scroll to the New Customer section and click on "Register Guest Customer Account" to begin the registration process.
Step 4: Complete the Registration Form
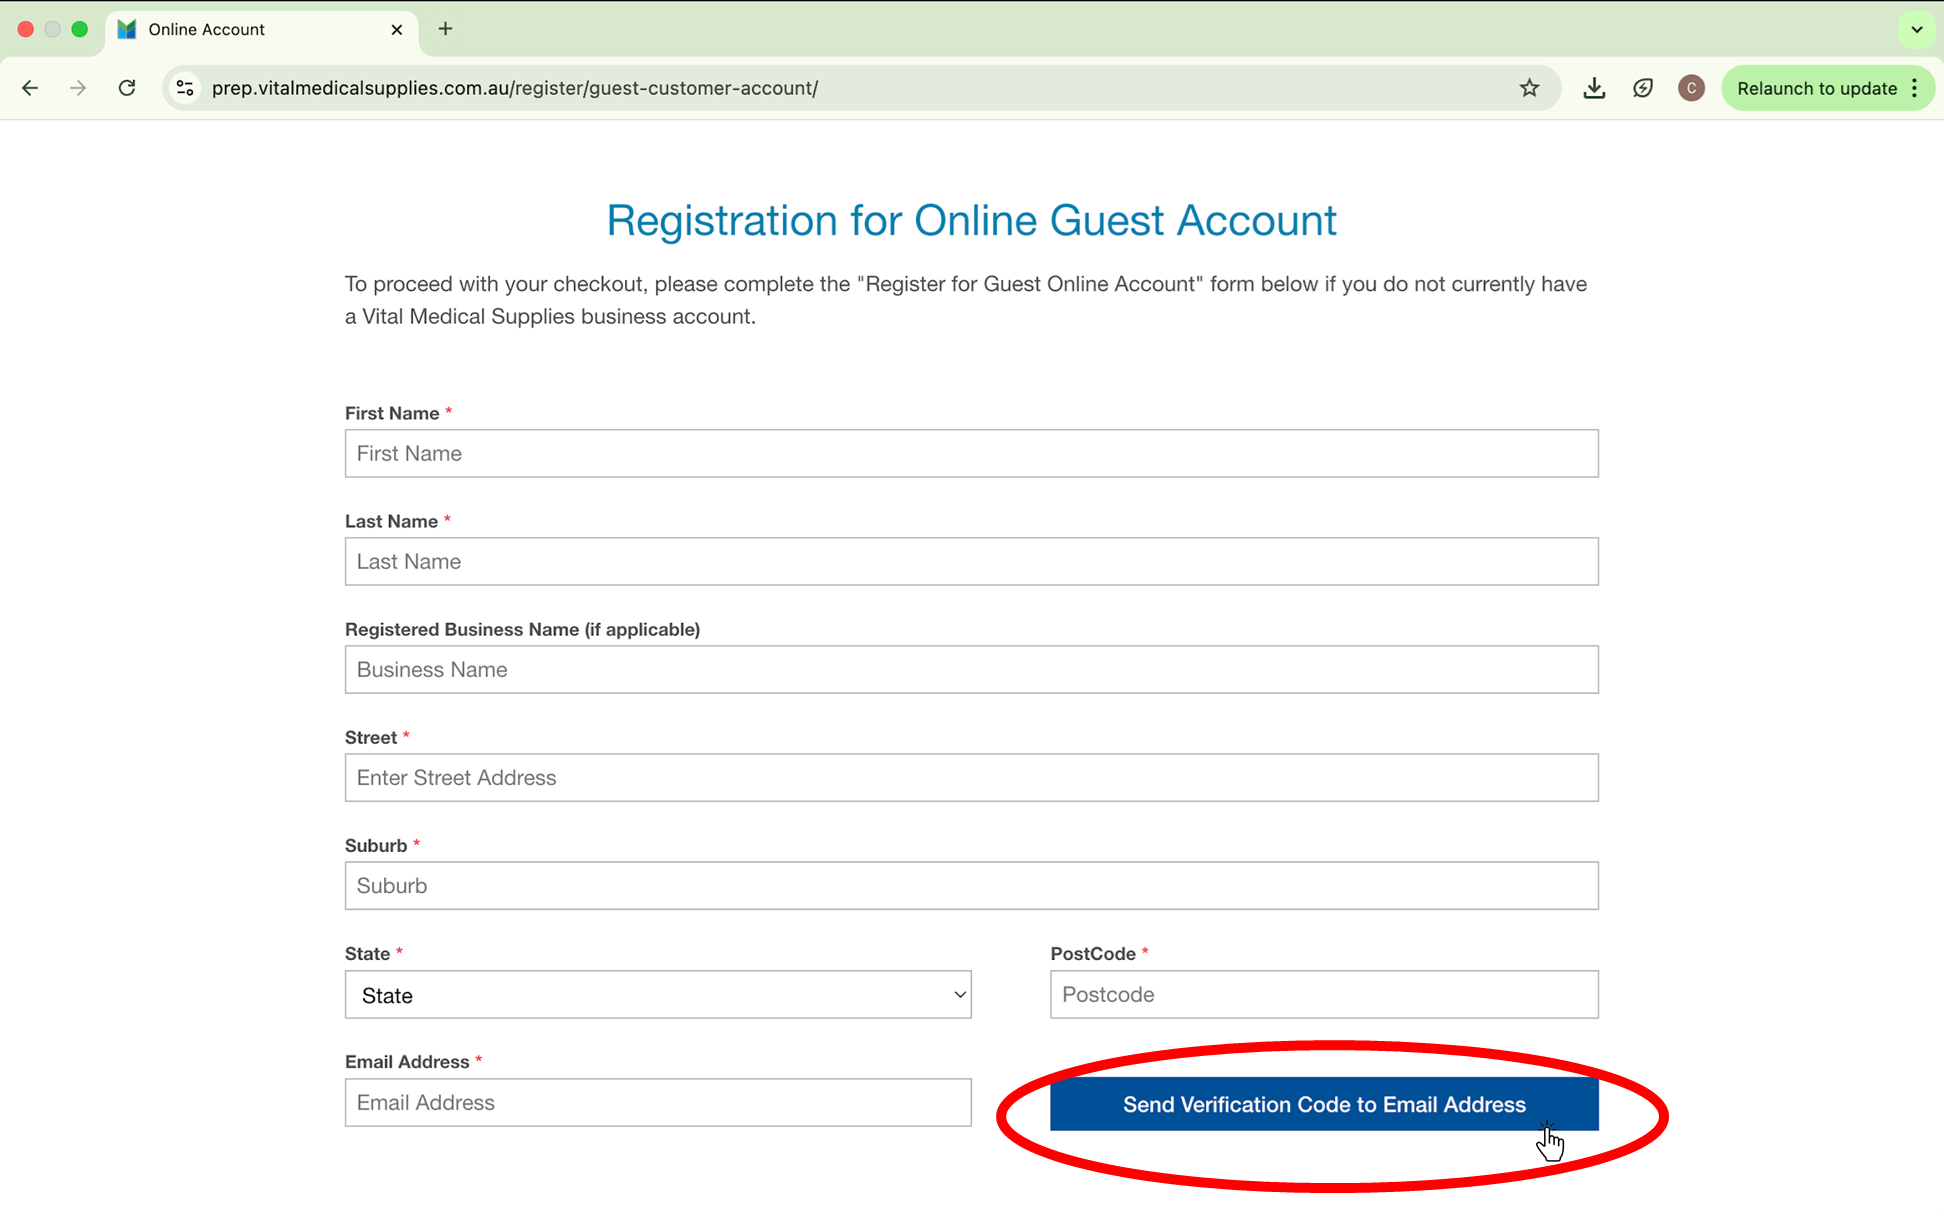
Fill out the "Register for Guest Online Account" form with the required details to proceed with creating your account.
Step 5: Send Verification Code to Your Email
After completing the "Register for Guest Online Account" form, click the blue button labeled “Send verification code to email address” to receive a verification code.
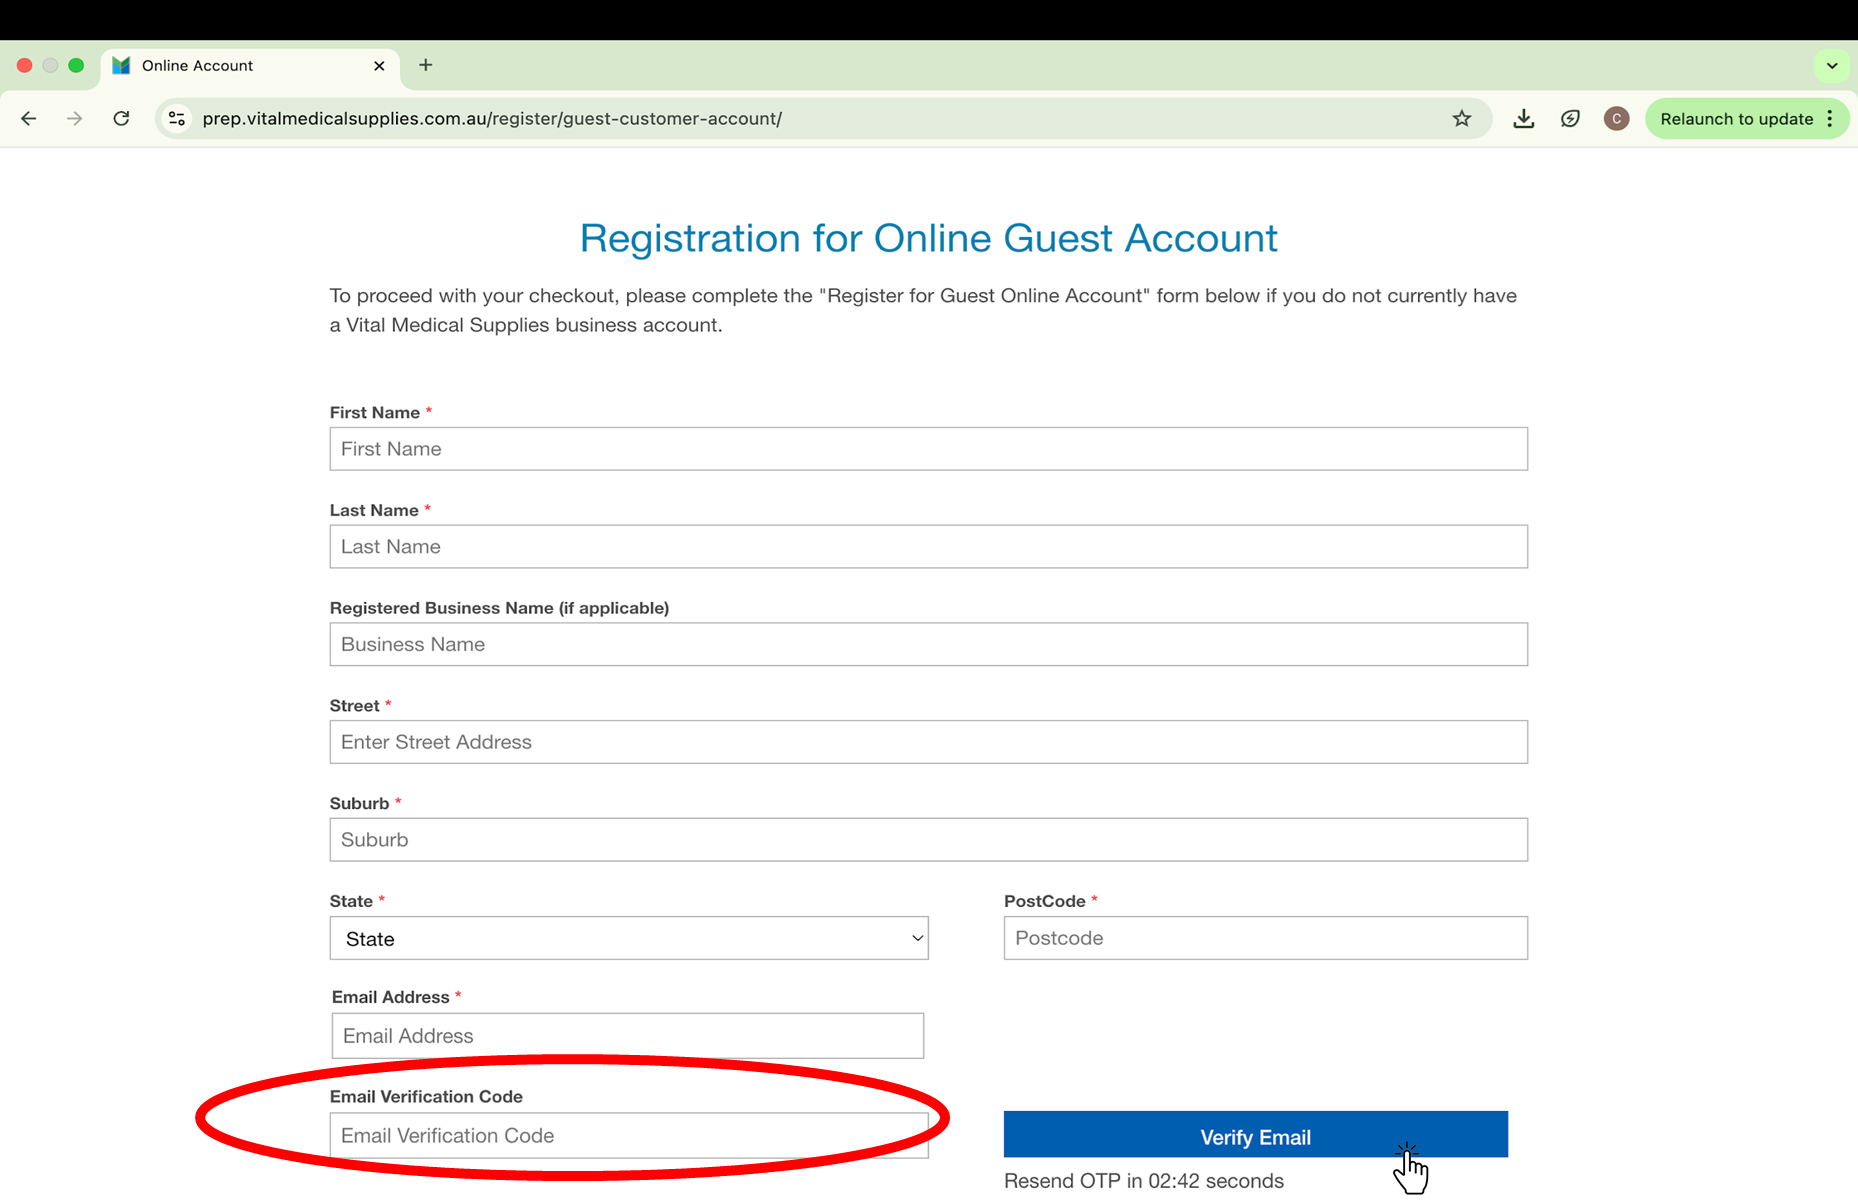
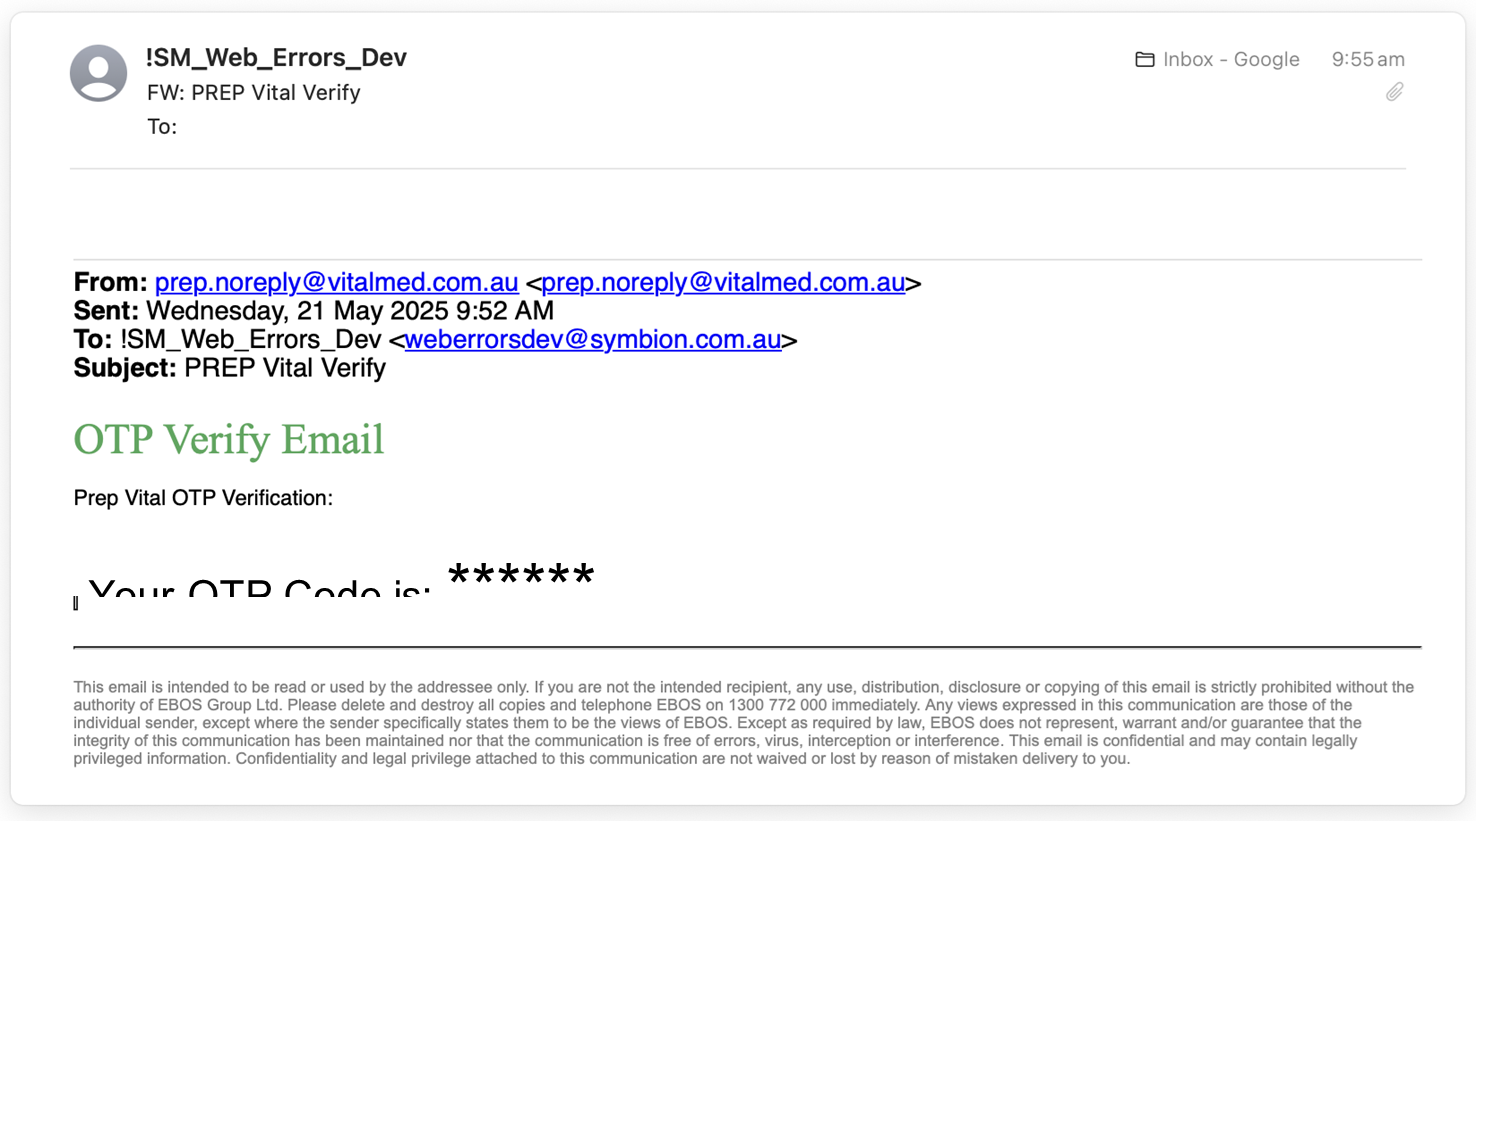
Step 6: Verify Your Email Address
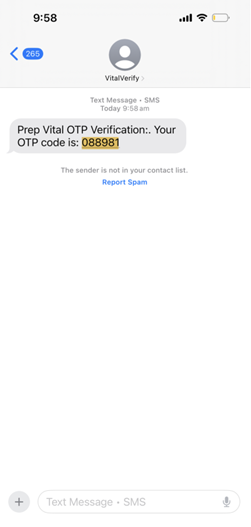
Check your email for a message from PREP Vital Verify containing your OTP (One-Time Password) verification code.
Copy the code, paste it into the verification field on the website, and click the blue “Verify Email” button.
You will have 3 minutes until the verification code expires. If it expires click “Resend OTP” and repeat step 6.
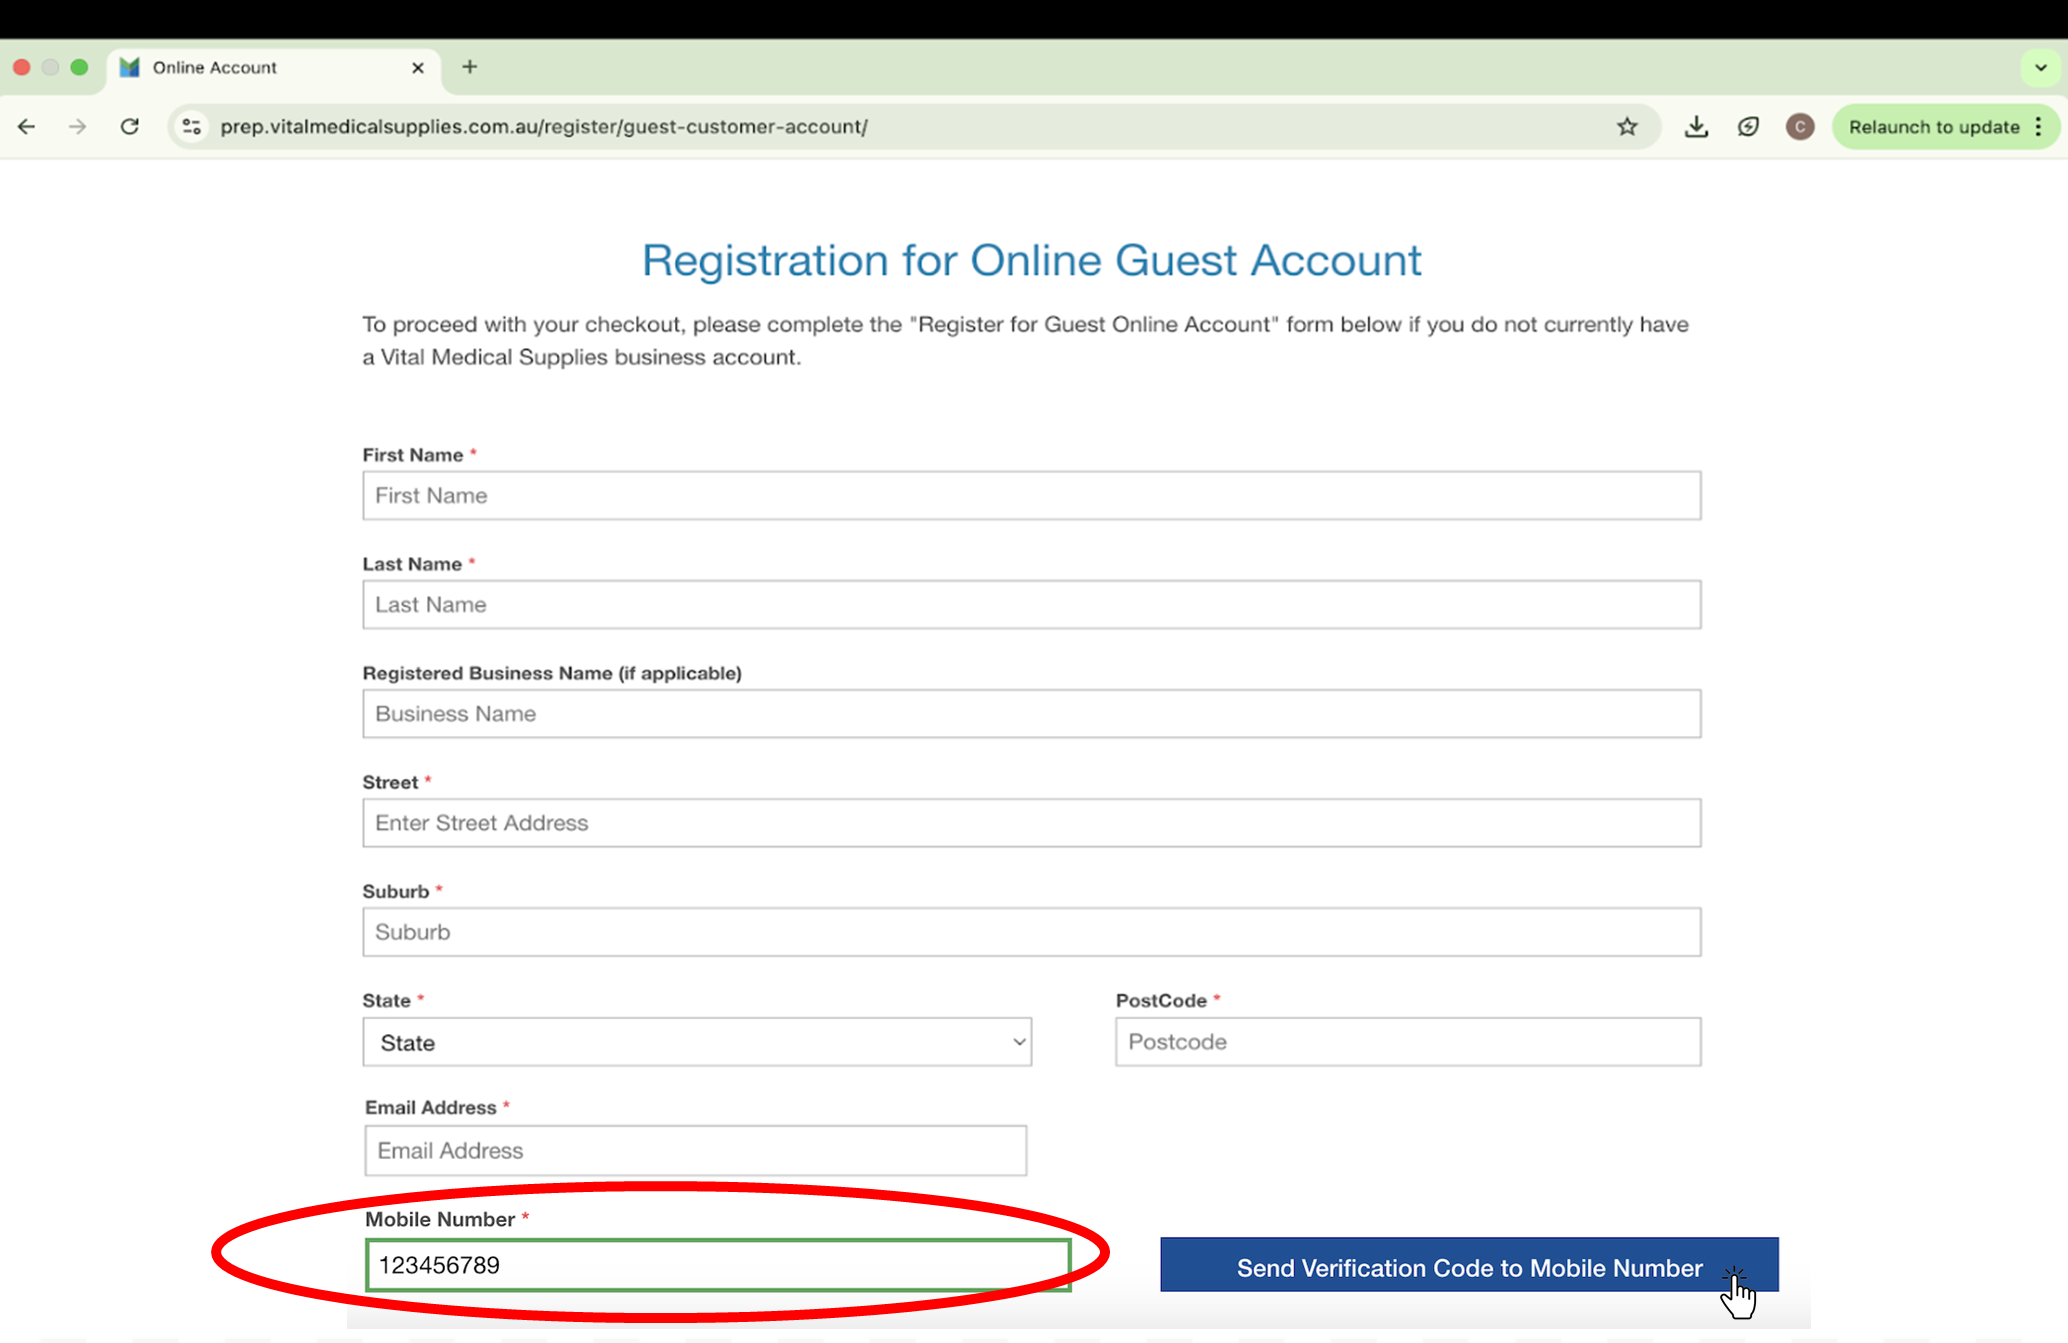
Step 7: Verify Your Mobile Number
Enter your mobile number in the designated field, then click the “Send Verification Code to Mobile Number” button to receive a code via SMS.
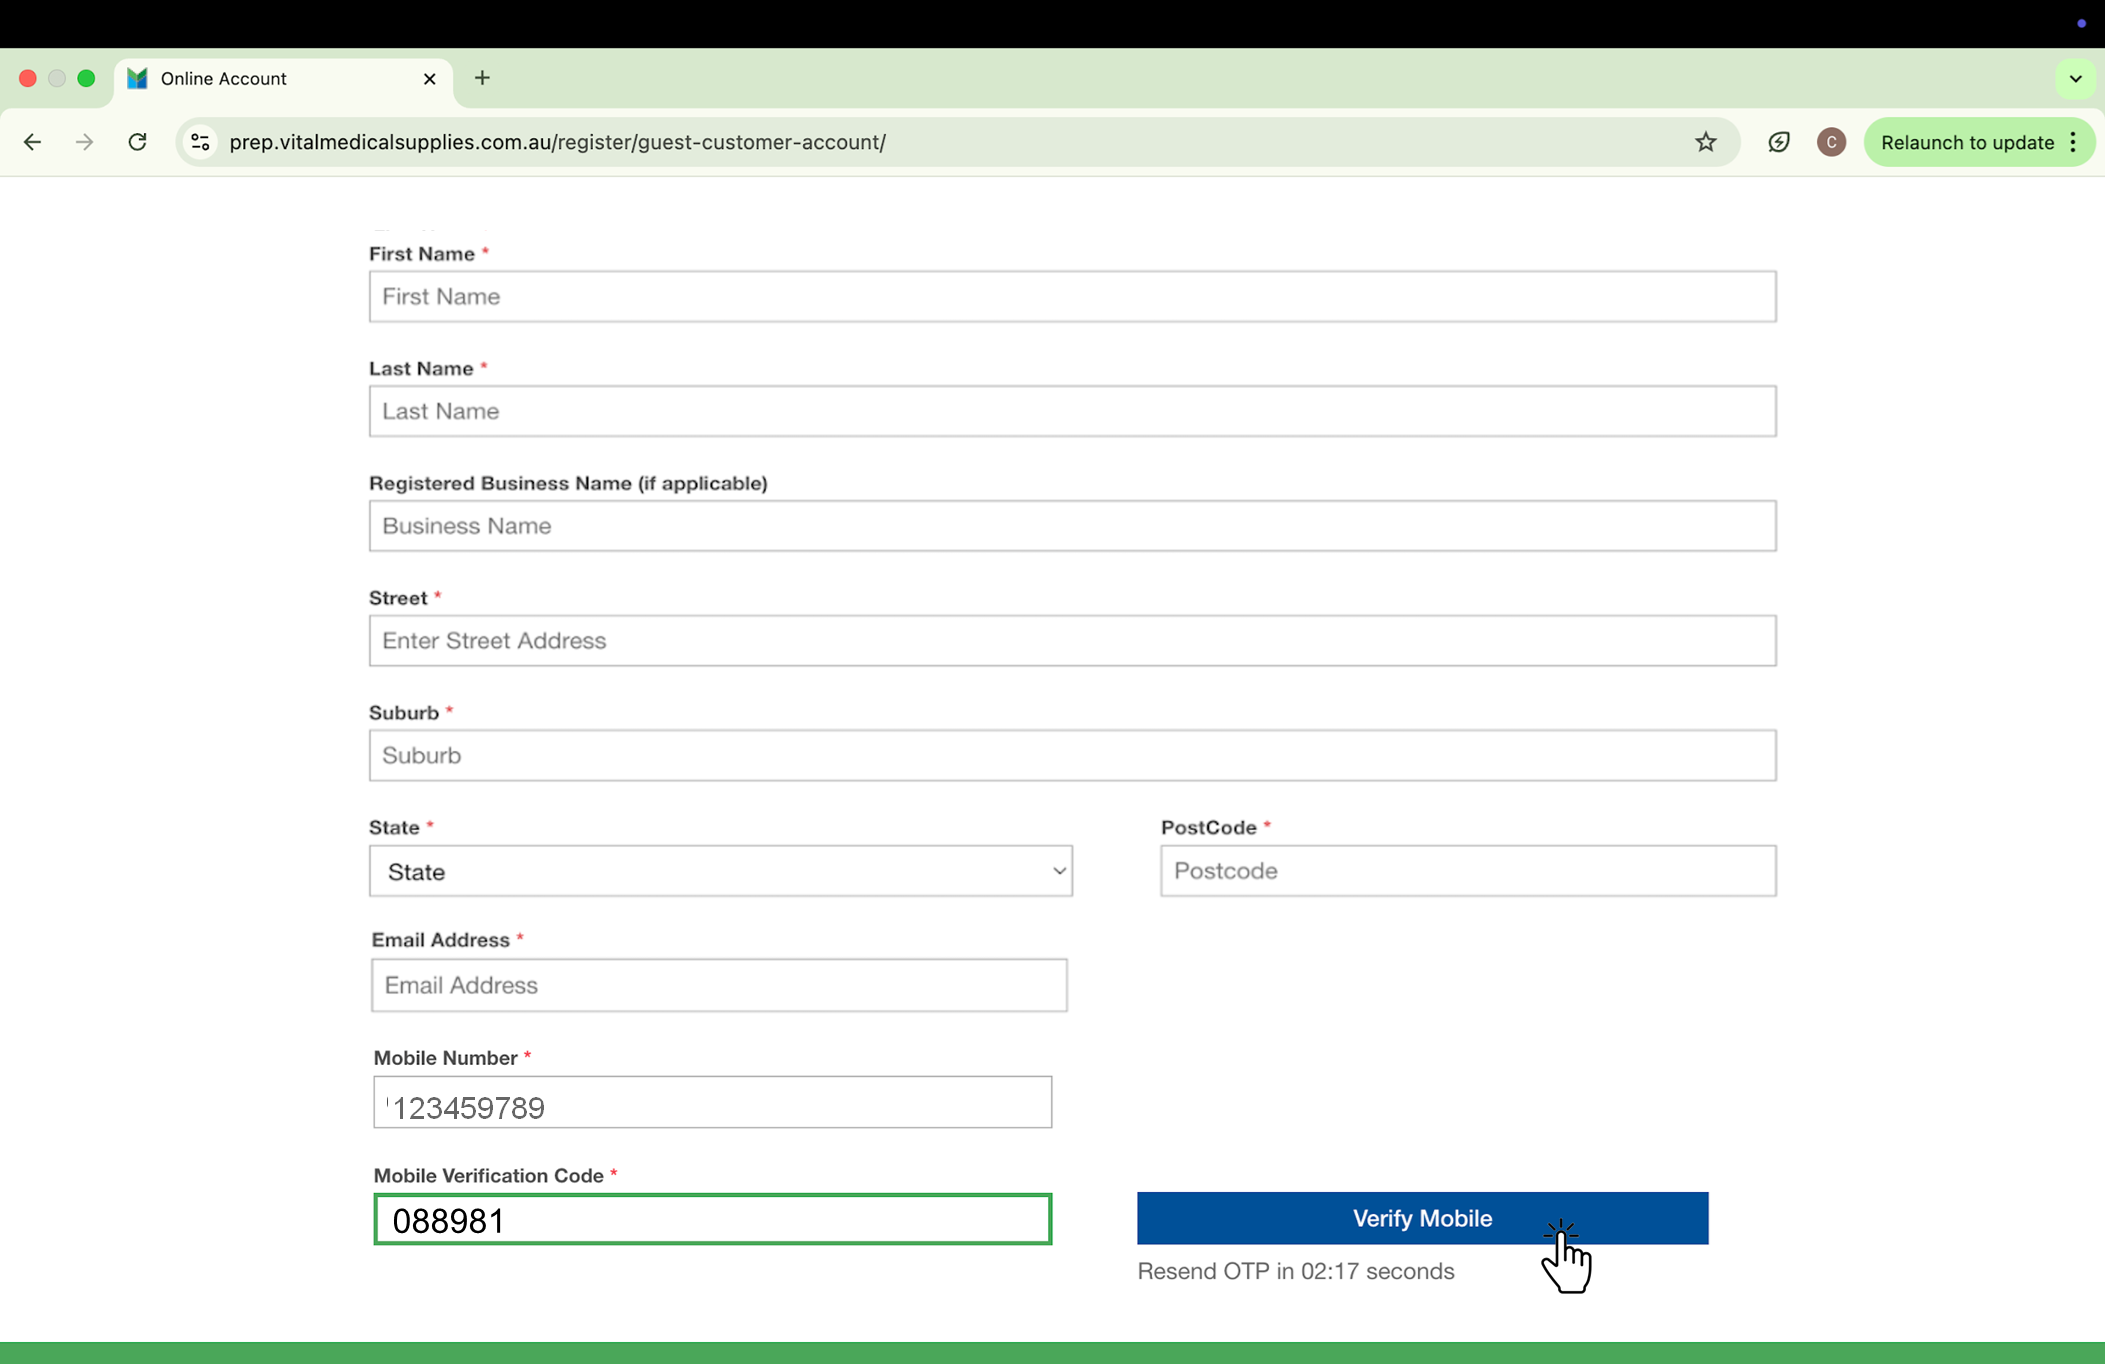
Step 8:
Check your SMS for a message from Vital Verify containing your OTP (One-Time Password) verification code.
Copy the code, paste it into the verification field on the website, and click the blue “Verify Mobile” button.
You will have 3 minutes until the verification code expires. If it expires click “Resend OTP” and repeat step 8.
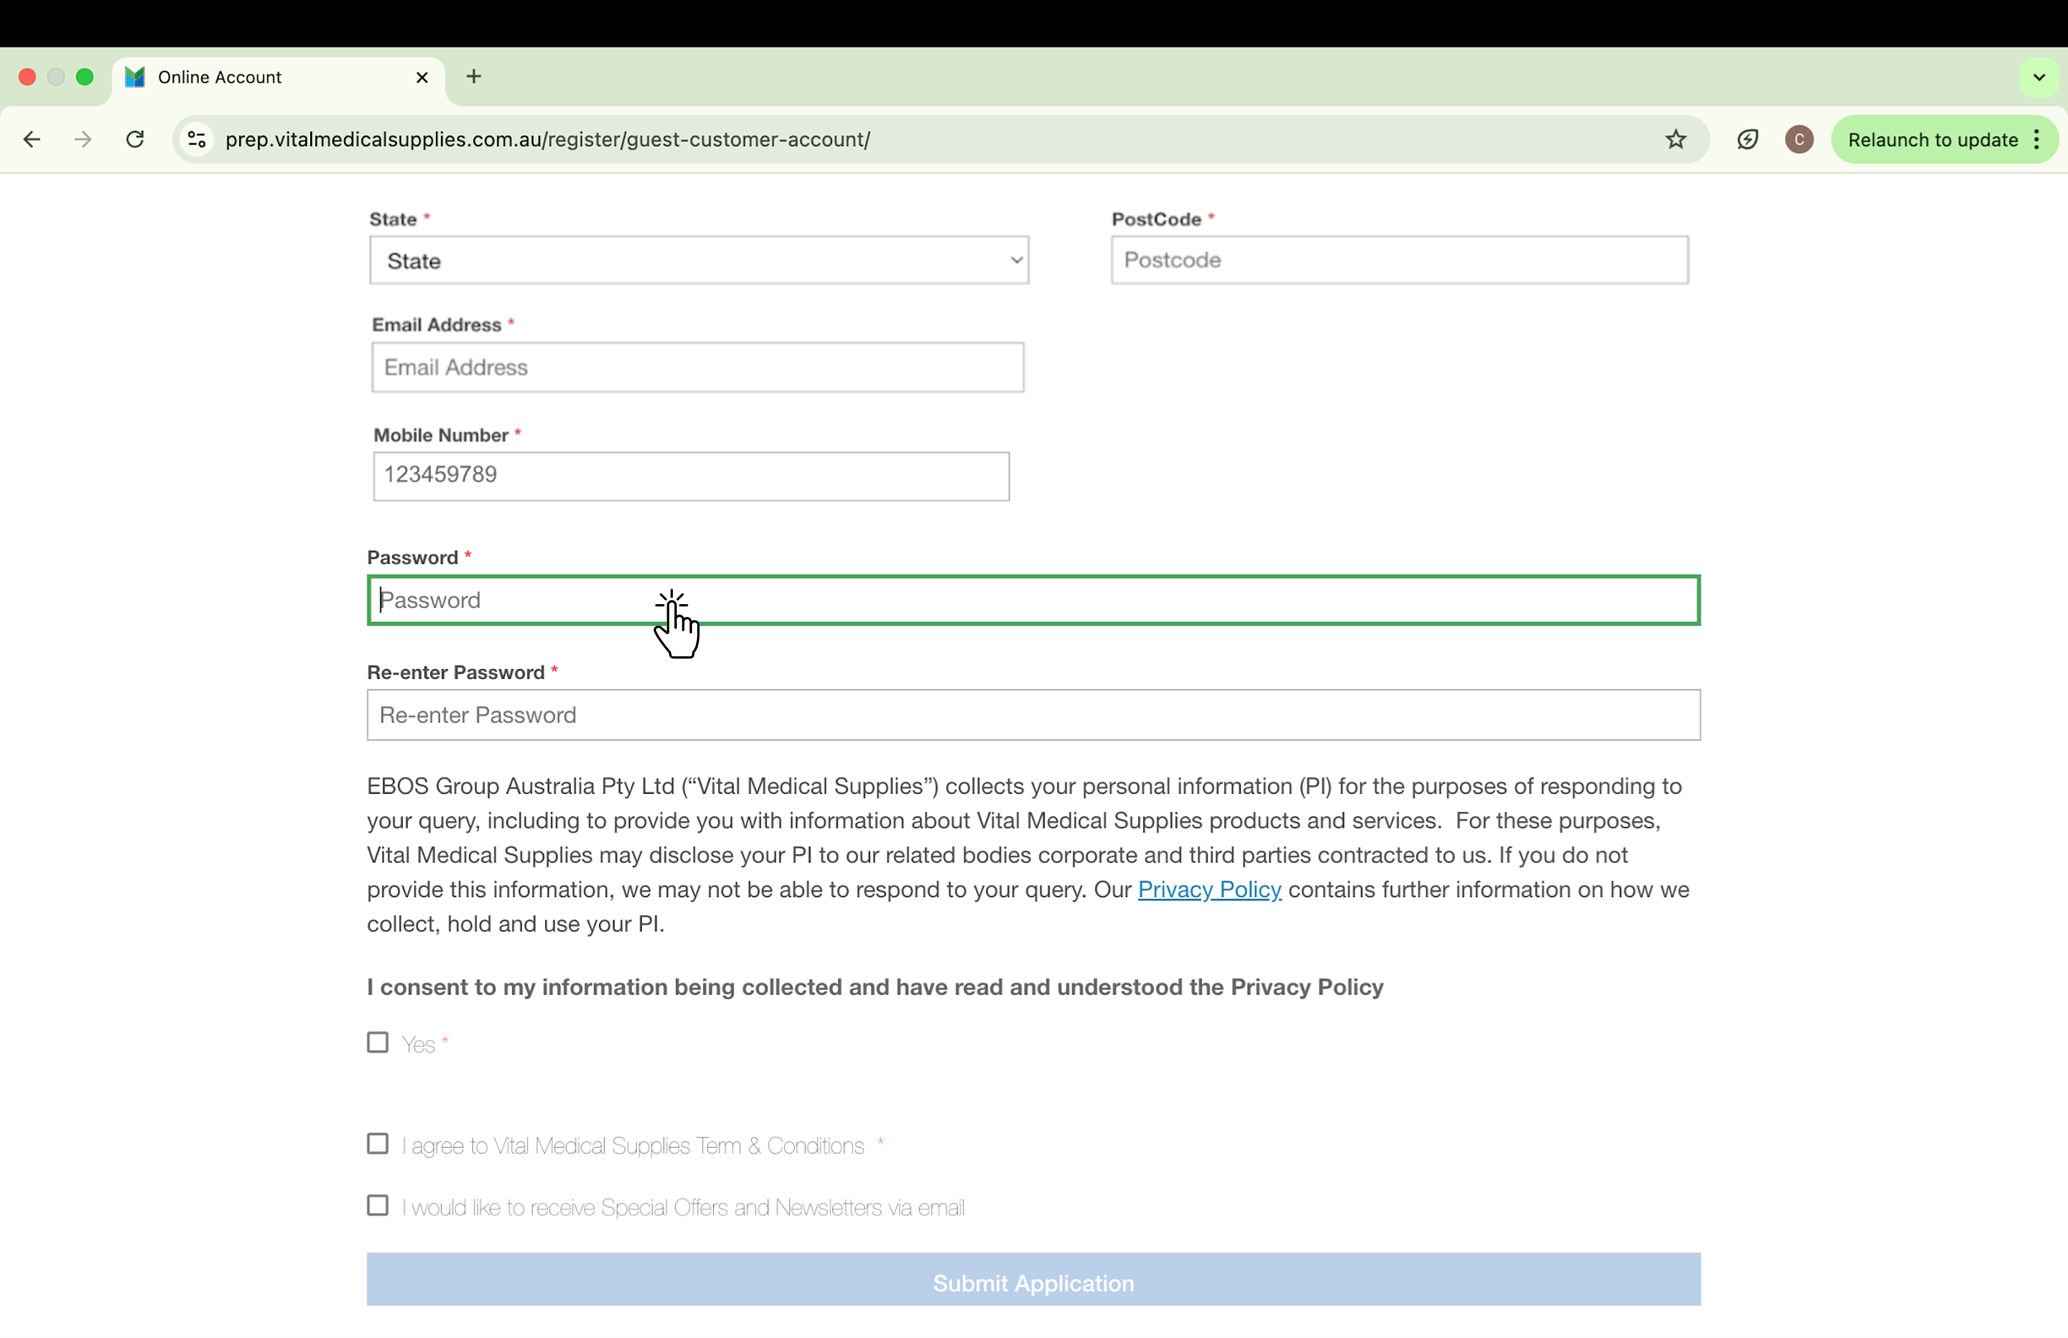
Step 9: Create and Confirm Your Password
Scroll down the page and choose a strong password and enter it in the ‘Password’ field. Then, confirm the same password in the ‘Re-enter Password’ field.
Make sure to save this password in a secure place for future reference.
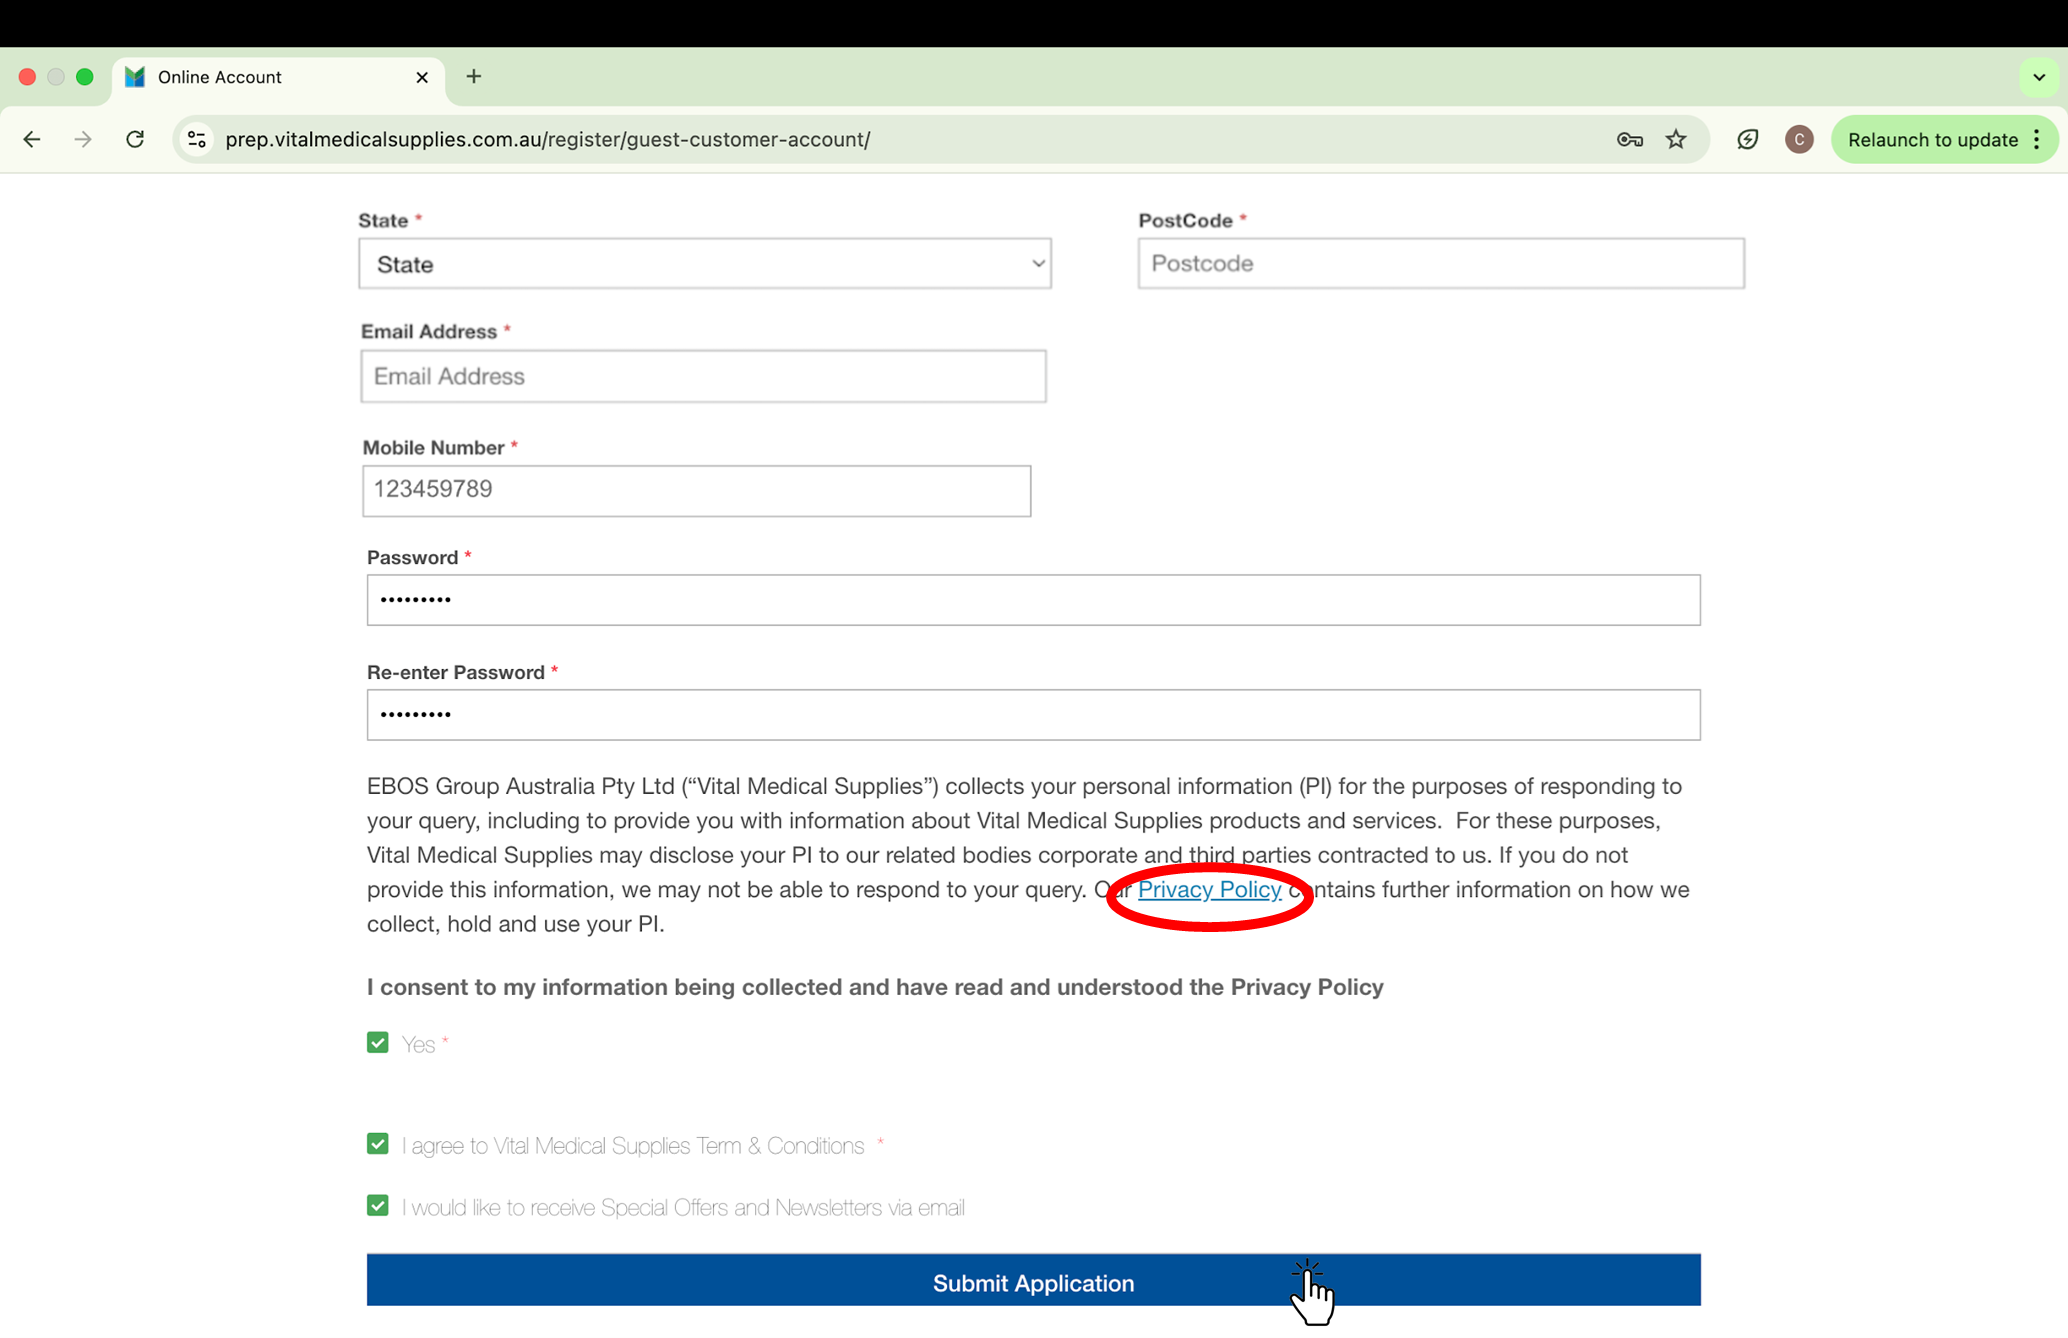
Step 10: Review the Privacy Policy and Submit Your Application
After creating your password click the link in blue to read the Privacy Policy. Once all applicable boxes are checked, click the blue “Submit Application” button to complete your registration.
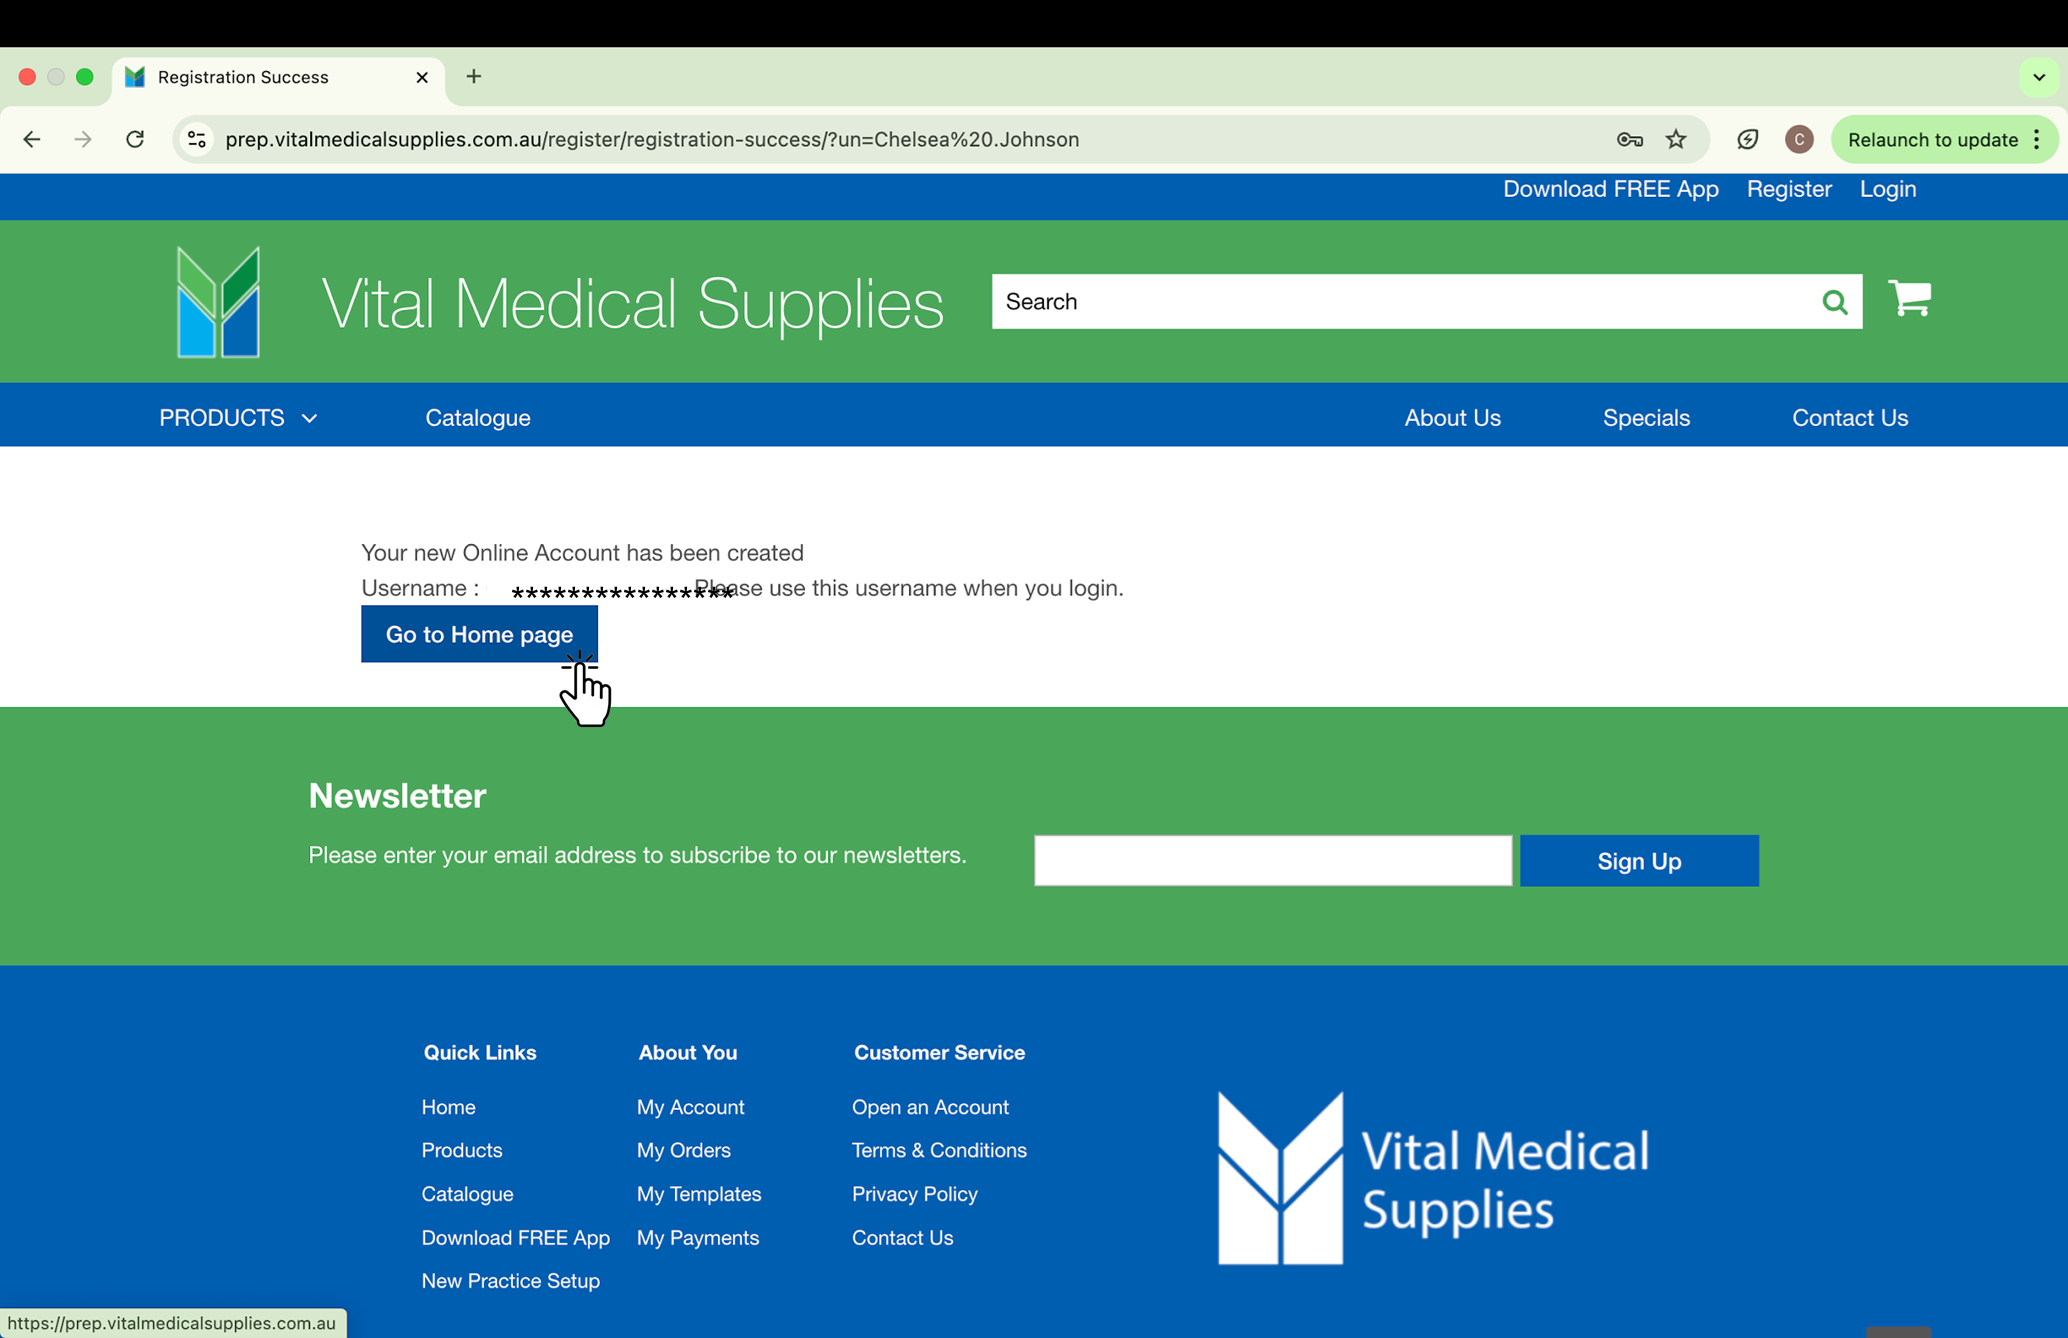
Step 11: Confirmation and Account Details
Once you submit your application, a confirmation page will appear displaying your username for logging in to your new online account. Make sure to save this username for future reference. To finish, click the blue “Go to Home Page” button.
Step 12: Confirm Your Account Registration
To ensure your account has been registered successfully go to the homepage and click “Login” in the upper right corner.
Enter the email address and password you just registered. If you’re able to log in successfully, your account is active and ready to use.